Ionic for Dummies by Dummies (Part 1) - The Basics!


Hey all! A new post each week or two, on an up and coming tech topic — Ionic, delivered to you by a certified Ionic dummy herself! By the end of this series, the goal is to create a simple CRUD (Create, Read, Update and Delete) to-do list app, which is also connected to an online database, like Firebase.
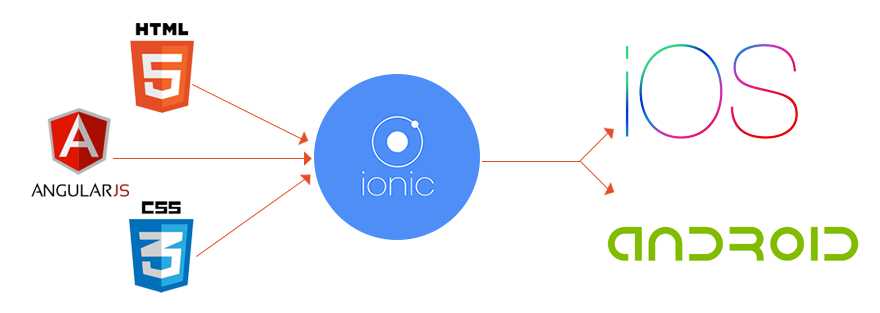
Hybrid Mobile Application — What are they?
Simply put, they are mobile apps created by the easier to learn languages; HTML, CSS and JavaScript. The beauty of developing a hybrid mobile app, is the fact that they can be compiled to work with any platform. If you are lazy, like yours truly, you’ll find it easier to use one code to build many apps, instead of developing separate apps for each platform.
Ionic is one of the popular frameworks to make your own hybrid mobile app. It can be built into an Android, iOS, Windows phone, Progressive Web or Desktop application. And testing said app is so much easier, since it can be live reloaded right onto your browser.
Step 1 — Setting it all up
Initially, sign up for an Ionic Pro account, here. That will make building and shipping the app easier. You might have to sign in sometime during the process of project creation.
To start coding your first Ionic App, there are a bunch of things you need;
- Node.js — This is pretty easy. Simply go to the Node.js websiteand download the ideal installer for you. We need the Node Package Manager, aptly named npm, to install all the dependencies for the many modules you would want to use in your app. If you develop on a Mac and have Homebrew installed, simply type in the command
brew install npmon the console. - TypeScript — TypeScript, a superset of JavaScript, is used instead of JS for majority of the code. After installing Node.js, on the console, type in
npm install -g typescript. - Cordova — Cordova is a framework that builds the HTML, CSS and JS/TS code into an app. To install, type
npm install -g cordova - And finally, Ionic — Type in
npm install -g ionic.
Bonus — You can download all three in one go with this command too! npm install -g typescript cordova ionic.
Now that you have set up the environment, lets get this party started!! 🎉🎉
Step 2 — Creating your first app
From within the console, move to the folder in which you want to store the app. My personal preference, is to have a dedicated folder for all my Ionic projects in my Documents.
Then, type in ionic start . The console then prompts you for a name for the project, like so, Project name: Tasks.
It then prompts you to specify the type of application.
? Starter template: (Use arrow keys)
tabs | A starting project with a simple tabbed interface
> blank | A blank starter project
sidemenu | A starting project with a side menu with navigation in the content area
super | A starting project complete with pre-built pages, providers and best practices for Ionic development.
tutorial | A tutorial based project that goes along with the Ionic documentation
aws | AWS Mobile Hub Starter
For now, let's make it a blank project, a to-do list with all CRUD functions in one page. It will then prompt you for permission to add the Android and iOS platforms.
? Integrate your new app with Cordova to target native iOS and Android? (y/N) y
It will proceed to download extra dependencies that will allow you to live reload the app in emulators and devices. Once the native SDK’s are downloaded you are prompted to add the Ionic Pro SDK, if you wish to do so.
? Install the free Ionic Pro SDK and connect your app? y

Honestly, Ionic 3 didn’t take this long! 😒😒😒
If you do pick yes, the console will then prompt you for your Ionic Pro email and password, set up at the beginning of this post.
? Email:
? Password:
Thereafter, you have the option to either link this app to an existing one, to create a new one entirely.
? What would you like to do? (Use arrow keys)
Link an existing app on Ionic Pro
> Create a new app on Ionic Pro
The console then proceeds to ask your preferable git host, to store your repository. I prefer GitHub, as it’s something I’m more familiar with.
? Which git host would you like to use? (Use arrow keys)
> GitHub
Ionic Pro
Depending on your choice above, if you picked GitHub like I have, you may require to open your browser to give your credentials and sign in. Once done, return back to the console. You then need to link this app to the repository, or create a new one. If you don’t have a repository, go back to GitHub and create one now. Once the new repository is created, come back to the console and type y .
? Does the repository exist on GitHub? y
Afterwards, pick the correct repository from the list displayed on the console. I will be using only the master branch for now, and will go with the former option.
? Which would you like to do? (Use arrow keys)
> Link to master branch only
Link to specific branches
And FINALLY, we’re done creating the app!! 🤩🤩
But, If you picked Ionic Pro as a git host, pick the option to generate an SSH key pair.
? How would you like to connect to Ionic Pro? (Use arrow keys)
> Automatically setup new a SSH key pair for Ionic Pro
Use an existing SSH key pair
Skip for now
Ignore this prompt forever
And we’re done here too!
Step 3 — Let's have a look at it
There are two different commands to view the app on the browser.
ionic serve
ionic serve -l

ionic serve displays the app in the view of a web application.

ionic serve -l displays the app in the many mobile device platforms. You will need to download it from within the console, when prompted, to get this view.
And that’s a wrap for today! In the next post, we will go ahead and get started with the C in CRUD.
See you next post! 🙋🏻👋🏻
Find the current git repo, here.
For more tech tutorials from Sameeha, check out her blog on Medium


